Wooden Planter Box DIY: Easy Build for Your Home Garden
A wooden planter box is one of the best DIY projects for anyone who wants to upgrade their outdoor space. It adds beauty to patios, balconies, backyards, and even indoor corners near windows. Planter boxes also help keep plants organized, making your garden look clean and well-managed.
The best part is that you don’t need to be a professional carpenter to build one. With basic tools, simple measurements, and the right wood choice, you can create a strong planter that lasts for years. This guide will help you build a planter box step by step with a clean and modern look.
Why a Wooden Planter Box Is a Great DIY Project
A planter box gives you control over your planting space. It improves drainage, supports healthier roots, and keeps your plants protected from foot traffic or pets. It also helps gardeners who have poor soil quality in their yard, because you can fill the box with fresh soil and compost.
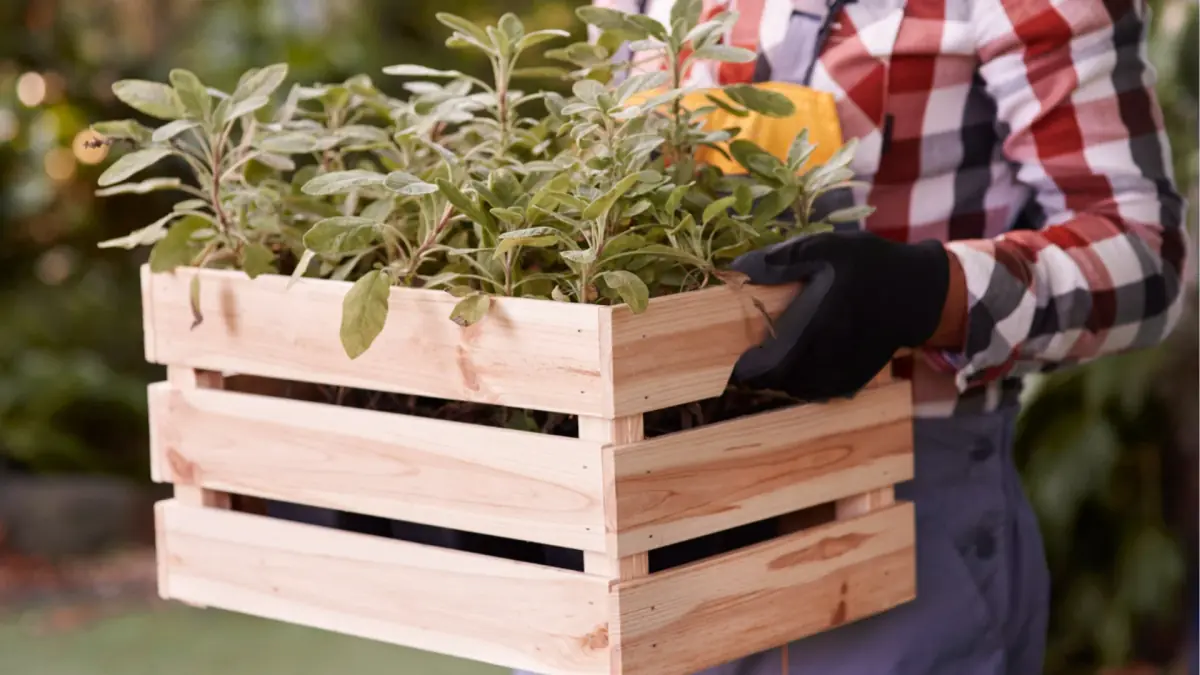
Another reason people love planter boxes is the design. A well-made box instantly improves the look of your outdoor space and adds a natural touch. Whether you want to grow herbs, flowers, or vegetables, a wooden planter box makes your garden more organized and attractive.
Choosing the Best Wood for a Planter Box
Wood selection matters because a planter box stays exposed to water, soil, and weather. If you choose the wrong wood, it can rot quickly and break after a few seasons.
Cedar and redwood are popular options because they are naturally resistant to moisture and insects. Pine is cheaper and easy to work with, but it needs sealing to last longer. If you want a long-lasting planter box, choose strong wood and protect it properly before planting.
Best Size and Design Ideas for a Wooden Planter Box
The size of your planter depends on where you will place it and what you plan to grow. Herbs and flowers can grow in smaller boxes, while vegetables may need deeper space for roots.
A simple rectangular design is best for beginners. It looks modern, it is easy to build, and it fits well in most areas. If you want better drainage, you can build the planter slightly raised off the ground with small legs or blocks. A well-sized wooden planter box looks neat and gives your plants enough space to grow properly.
Tools and Materials You Need
You don’t need expensive tools for this project, but basic equipment helps you work faster and more accurately. Keep everything ready before you start building.
Here are the basic items you’ll need:
- Wooden boards and screws
- Measuring tape, drill, and saw
- Sandpaper and a wood sealer
With these items, you can build a strong planter box and finish it in a professional way.
Step-by-Step Guide to Build a Wooden Planter Box
Follow these steps carefully to create a clean, durable planter box. The process is simple, and most beginners can complete it in a few hours.
Step 1: Measure and Cut the Wood
First, decide the length, width, and height of your planter box. Then measure and cut the boards for the front, back, sides, and bottom. Make sure all cuts are straight and equal. Accurate measurement makes the planter stable and gives it a clean finish. If possible, sand the edges after cutting to avoid rough surfaces.
Step 2: Build the Frame
Start by joining the side boards with the front and back boards. Drill small pilot holes first, then insert screws to connect the pieces properly. Make sure corners align correctly. A strong frame is the foundation of your wooden planter box, so tighten screws properly and keep the shape balanced.
Step 3: Add the Bottom Panels
After the frame is ready, attach the bottom boards. Leave small gaps between bottom boards if you want better drainage. This helps excess water escape instead of staying trapped inside. If you prefer a solid base, you can drill drainage holes instead. Good drainage is important to prevent root rot and keep plants healthy.
Step 4: Add Lining for Protection
Wood is strong, but constant soil moisture can damage it over time. That’s why lining the inside can help your planter box last longer. Use landscape fabric or plastic liner to protect the wood from direct contact with wet soil. If you use plastic, make sure you still leave drainage holes so water can escape. This step improves the life of your wooden planter box and keeps the structure stronger for long-term use.
Step 5: Seal and Finish the Wood
Before adding soil, apply a wood sealant to protect the planter from weather damage. This is especially important if you are using pine or a cheaper wood type. Choose a sealant that is safe for plants if you plan to grow vegetables or herbs. Let it dry fully before using the planter. A good finish makes the box look better and helps prevent cracking or rotting.
What to Plant in a Wooden Planter Box
A planter box is great for many types of plants. You can grow herbs like mint, basil, and coriander. You can also grow vegetables like tomatoes, lettuce, and chilies depending on the season. Flowers also work beautifully in a planter box, especially if you want to enhance your home decor outdoors. When arranged well, a wooden planter box can make your balcony or patio look modern and vibrant.
Common Mistakes to Avoid
Many people skip drainage, which causes water to stay inside the planter and damage plant roots. Another common mistake is using untreated wood without sealing, which leads to early rotting. Overfilling the planter with poor-quality soil is also a problem. Always use a good mix of garden soil, compost, and a little sand for better drainage. Avoiding these mistakes will make your planter more successful and long-lasting.
How to Maintain a Wooden Planter Box for Years
Regular maintenance keeps your planter box in good shape. Once or twice a year, check the wood for cracks or weak joints. Tighten screws if needed and apply a fresh layer of sealant to protect the surface. Also clean the outer surface using a dry cloth or light water spray. Keeping the planter clean improves its appearance and helps your wooden planter box stay strong for many seasons.
FAQs
How long does a wooden planter box last?
It depends on the wood type and protection. Cedar lasts longer naturally, while pine lasts well if sealed properly. With care, most planter boxes can last several years.
Can I keep a wooden planter box indoors?
Yes. You can use it indoors as long as it has a tray underneath to catch extra water. Indoor planter boxes work best near natural light.
Do I need to line the planter box?
Lining is not required, but it helps protect the wood from moisture and extends the planter’s life. Landscape fabric is a good option.
What soil should I use in a planter box?
Use a mix of garden soil, compost, and a little sand or coco peat. This helps drainage and supports healthy plant growth.
Is a wooden planter box good for vegetables?
Yes. It is great for vegetables because it allows controlled soil and easier maintenance. Just use safe wood sealant if growing edible plants.
Conclusion
A wooden planter box is a simple and rewarding DIY project that adds beauty and structure to your home garden. It improves plant health, keeps your space organized, and gives you a stylish way to grow herbs, flowers, or vegetables.
With the right wood, proper drainage, and a protective finish, your planter box can last for years. Start with a simple design, follow the steps carefully, and enjoy a beautiful planter that upgrades your home’s outdoor look.