Floating shelves are one of the best DIY upgrades you can add to your home. They look modern, save space, and provide a stylish way to display decor, books, plants, or kitchen items. The best part is that you don’t need expert skills to get great results.
If you want to build floating shelves at home, this guide will help you do it step by step. You will learn how to choose the right shelf type, install it safely, and avoid common mistakes so your shelves stay strong and look professional.
Why Floating Shelves Are a Great DIY Project
Floating shelves create a clean look because the brackets are hidden. This makes the shelf appear like it is “floating” on the wall, which is perfect for modern home design. They work in almost every room, including the living room, bedroom, bathroom, and kitchen.
They are also helpful for organization. Shelves give you extra storage without using floor space, making small rooms feel bigger and more open. When you build floating shelves, you add both style and function to your home.
Planning Before You Build Floating Shelves
Good planning makes your shelf project easier and safer. Before you start drilling, you should decide where you want the shelves and what purpose they will serve.
Think about what you will place on the shelf. A shelf holding light decor does not need the same strength as a shelf holding books or heavy kitchen jars. The wall type also matters because drywall needs proper anchors or stud support.
Choose the Best Location for Floating Shelves
The best shelf location depends on the room. In the living room, shelves look great above a sofa or near a TV unit. In the kitchen, shelves can be placed above the counter for spice jars and mugs. In bathrooms, they can hold towels and toiletries.
Make sure the shelf does not block switches, vents, or doors. Also, choose a height that is easy to reach and looks balanced with the room layout.
Pick the Right Shelf Size and Style
Shelf size affects both appearance and strength. Wider shelves give more space, but they need stronger support. Thicker shelves look premium and modern, while thinner shelves create a minimalist look.
Wood shelves are the most popular choice because they match many home styles. MDF shelves can also work but may not hold heavy weight unless installed properly.
Tools and Materials You Need
You don’t need expensive equipment for this project, but having the right basic tools makes the process smooth. If you are a beginner, simple tools are enough to build floating shelves with clean results.
Here are common items you may need:
- •Drill and screws with wall anchors
- •Measuring tape and level
- •Stud finder and pencil
If you have these tools ready, shelf installation becomes much faster and more accurate.
Step-by-Step Instructions to Build Floating Shelves
Now let’s go through the process in a simple and clear way. Follow the steps carefully so the shelves stay straight and secure.
Step 1: Measure and Mark the Shelf Position
Use a measuring tape to decide the exact height and spacing. Mark the placement using a pencil. If you are installing multiple shelves, keep the spacing equal for a clean look. Use a level to make sure the marks are straight. This step is important because even a slight tilt can make the shelf look unprofessional.
Step 2: Find Wall Studs or Use Strong Anchors
Studs provide the strongest support. If you can screw the bracket into studs, your shelf will hold more weight safely. If studs are not available in the right spot, use high-quality wall anchors designed for heavy loads. Avoid cheap anchors because they can fail over time. This step is critical when you build floating shelves for storage purposes.
Step 3: Install the Bracket or Mounting Base
Floating shelf kits usually come with a hidden bracket system. Install the bracket first using screws. Tighten everything properly and ensure the bracket is straight. Once the bracket is fixed, test it lightly with your hand. If it moves, adjust screws and check the wall support again before continuing.
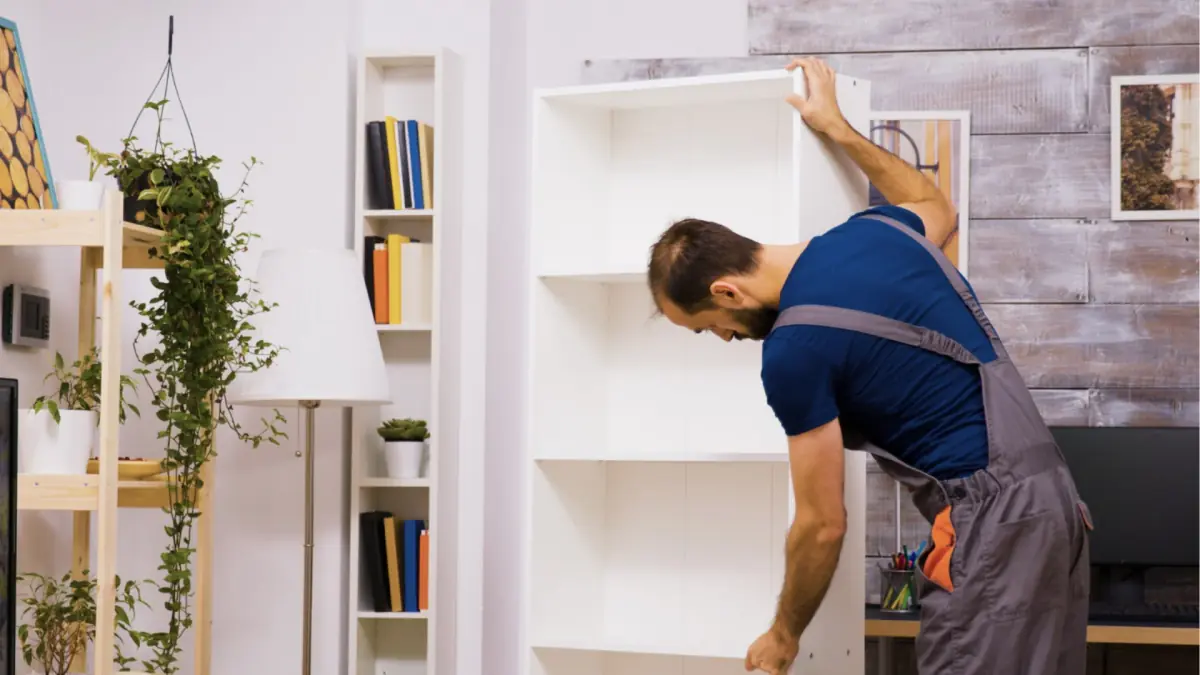
Step 4: Attach the Shelf to the Bracket
Slide the shelf onto the bracket rods or attach it using screws depending on the shelf type. Some shelves have locking screws underneath to secure them firmly. After installation, place the level on top to confirm the shelf is perfectly straight. This step gives your shelf a clean finish.
Step 5: Test Strength and Do Final Touches
Before placing heavy items, test the shelf with light pressure. If it feels stable, slowly add weight. To improve appearance, you can paint the shelf, apply wood stain, or add edge finishing. These finishing touches make the shelf look more expensive and professional.
Best Places to Use Floating Shelves at Home
Floating shelves can be used almost anywhere. They are perfect for adding storage and style in a simple way. In kitchens, they can hold mugs, spice jars, and decorative plates. In living rooms, they can display photo frames and small plants. In bedrooms, they are great for books and small decor items. When you build floating shelves, you create an easy storage solution that fits your space.
Common Mistakes to Avoid
Many shelf problems happen because of poor measurement or weak wall support. One common mistake is installing shelves without a level, which results in tilted shelves. Another mistake is using weak anchors that cannot hold weight. Some people also overload shelves with heavy items without checking capacity. Always match shelf strength with its use. Proper planning prevents damage and helps your shelf last longer.
How to Style Floating Shelves the Modern Way
Once the shelves are installed, styling is the final step. A modern shelf should look balanced and not crowded. Mix decorative items like small plants, books, candles, or frames. Keep some empty space so the shelf looks clean. Using matching colors or themes makes the shelves look more organized and visually appealing. When you build floating shelves, styling them well makes the final result look premium.
FAQs
Is it hard to build floating shelves for beginners?
No. It’s a beginner-friendly DIY project if you measure carefully and use the right tools. The key is installing the bracket properly and keeping everything level.
Do floating shelves need studs?
Studs provide the strongest support, but you can also use heavy-duty wall anchors if studs are not available. The shelf weight should match the wall support type.
How much weight can floating shelves hold?
It depends on the bracket quality, shelf material, and wall type. Shelves mounted into studs can hold much more than shelves installed only with anchors.
What is the best wood for floating shelves?
Solid wood is the best option because it is strong and durable. Plywood and MDF can also be used but may require stronger brackets.
Can I build floating shelves without a kit?
Yes. You can use hidden brackets or custom supports. However, a shelf kit is easier for beginners and gives a cleaner result.
Conclusion
Learning how to build floating shelves is one of the best DIY projects for improving your home. It adds modern style, creates extra storage, and works well in almost every room. With the right tools and careful measurements, you can install floating shelves that look professional and stay strong.
Start with proper planning, use strong wall support, and take your time with installation. Once completed, style your shelves simply and enjoy a cleaner, more organized, and more beautiful home.