Cracks in drywall are one of the most common household problems homeowners face. Whether
caused by settling foundations, temperature changes, or minor impacts, drywall cracks
can make even a well-kept home look aged and neglected. The good news is that repairing
them is easier than you might think — and you don’t need to hire a professional.
For more useful guides, explore our Cleaning section. For expert advice, check out our Diy guides.
1. Identify the Cause of the Crack
Before fixing the crack, it’s crucial to understand why it
appeared: For expert advice, check out our Gardening guides.
- •Hairline cracks: Often result from normal settling or humidity changes.
- •Wide or reoccurring cracks: Could indicate structural movement.
- •Corner cracks: Usually due to tape separation or poor installation.
2. Gather the Necessary Tools and
Materials
- •Utility knife or drywall saw
- •Joint compound (spackle or mud)
- •Drywall tape (paper or mesh)
- •Sanding sponge (fine-grit)
- •Putty knife (4–6 inches)
- •Primer and matching paint
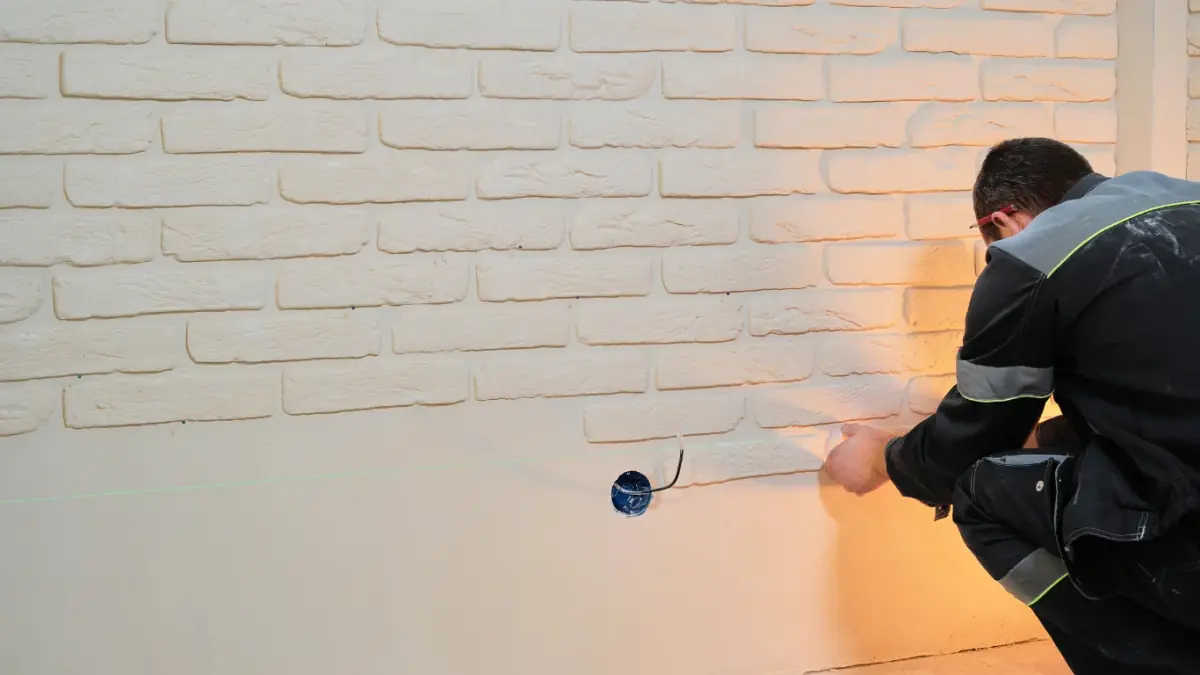
3. Prepare the Damaged Area
Proper preparation is key for a long-lasting repair. Use a
utility knife to widen the crack slightly (V-notch) to remove loose
debris. Scrape away flaking paint and wipe the area clean with a dry cloth to ensure the
compound adheres properly.
4. Apply Drywall Tape to the Crack
Drywall tape reinforces the repair and prevents future
cracking. Use fiberglass mesh tape for small hairline cracks or paper tape for larger
ones that require stronger adhesion.
5. Apply the First Layer of Joint
Compound
Spread a thin layer of joint compound over the taped area. Use
your putty knife to feather the edges outward to blend with the
surrounding wall. Allow it to dry completely for 12–24 hours.
6. Sand and Apply a Second Coat
Once dry, gently sand the surface to smooth imperfections.
Apply a second, slightly wider coat of compound for a seamless finish. This "feathering"
technique is the secret to a professional look.
7. Prime and Paint the Repaired Area
Apply a quality primer to seal the patch. Once dry, paint over
it. If the color doesn't blend perfectly, you may need to paint the entire wall section
from corner to corner.
8. Prevent Future Drywall Cracks
- •Maintain consistent indoor humidity levels.
- •Avoid slamming doors or heavy wall vibrations.
- •Inspect and reseal foundation cracks periodically.
Conclusion
Learning how to repair drywall cracks is a valuable DIY skill. With a little patience,
you can restore your walls to a flawless finish in just a weekend.
FAQs About Repairing Drywall Cracks
What causes drywall cracks to form?
Most cracks occur due to house settling, temperature
fluctuations, or poor installation techniques.
Should I use paper or mesh tape for
repairs?
Paper tape provides a stronger bond for larger cracks, while
mesh tape is easier for small DIY repairs.
Can I paint over drywall cracks without
repairing them?
No — paint won’t hide cracks and may even make them more
noticeable as the house continues to move.
. How long does it take to repair
drywall cracks?
Small cracks can be repaired in a few hours, while larger ones
may take a weekend to complete due to drying time.
What if my drywall cracks keep
returning?
Recurrent cracks may indicate underlying foundation or
moisture issues. Have your home inspected for structural movement.