A dripping faucet might seem like a small issue, but it can waste hundreds of
gallons of
water every year�and raise your bills. The good news? You don�t have to rely on
professional plumbing help. In this guide, you�ll learn how to fix a leaky faucet
without calling a plumber, step by step, using basic household tools. Whether it�s a
kitchen tap or bathroom sink, this home improvement guide will help you stop the
drip,
save water, and gain confidence in simple DIY repairs.
Understanding Why Faucets Leak
Before you grab your tools, it�s important to understand why faucets leak. The main
culprits are usually worn-out washers, damaged O-rings, or corroded valve seats.
Let�s
break it down:
- •Worn-out washers: Frequent use causes rubber washers to harden and crack.
- •Loose O-rings: These small rubber rings can slip or deteriorate over time.
- •Corroded valve seats: Hard water and sediment buildup can erode the valve seat.
- •Functional furniture with smart storage solutions
- •Faulty cartridges: For modern faucets, a damaged cartridge can cause leaks.
Tools You�ll Need
Before learning how to fix a leaky faucet without calling a plumber, gather these
tools:
- •Adjustable wrench
- •Flathead and Phillips screwdrivers
- •Replacement washers and O-rings
- •Plumber�s grease
- •White vinegar (for cleaning buildup)
- •Rag or towel
Step-by-Step Guide: How to Fix a
Leaky Faucet Without Calling a Plumber
Let�s walk through each step carefully to fix your leaky
faucet.
Step 1: Turn Off the Water
Supply
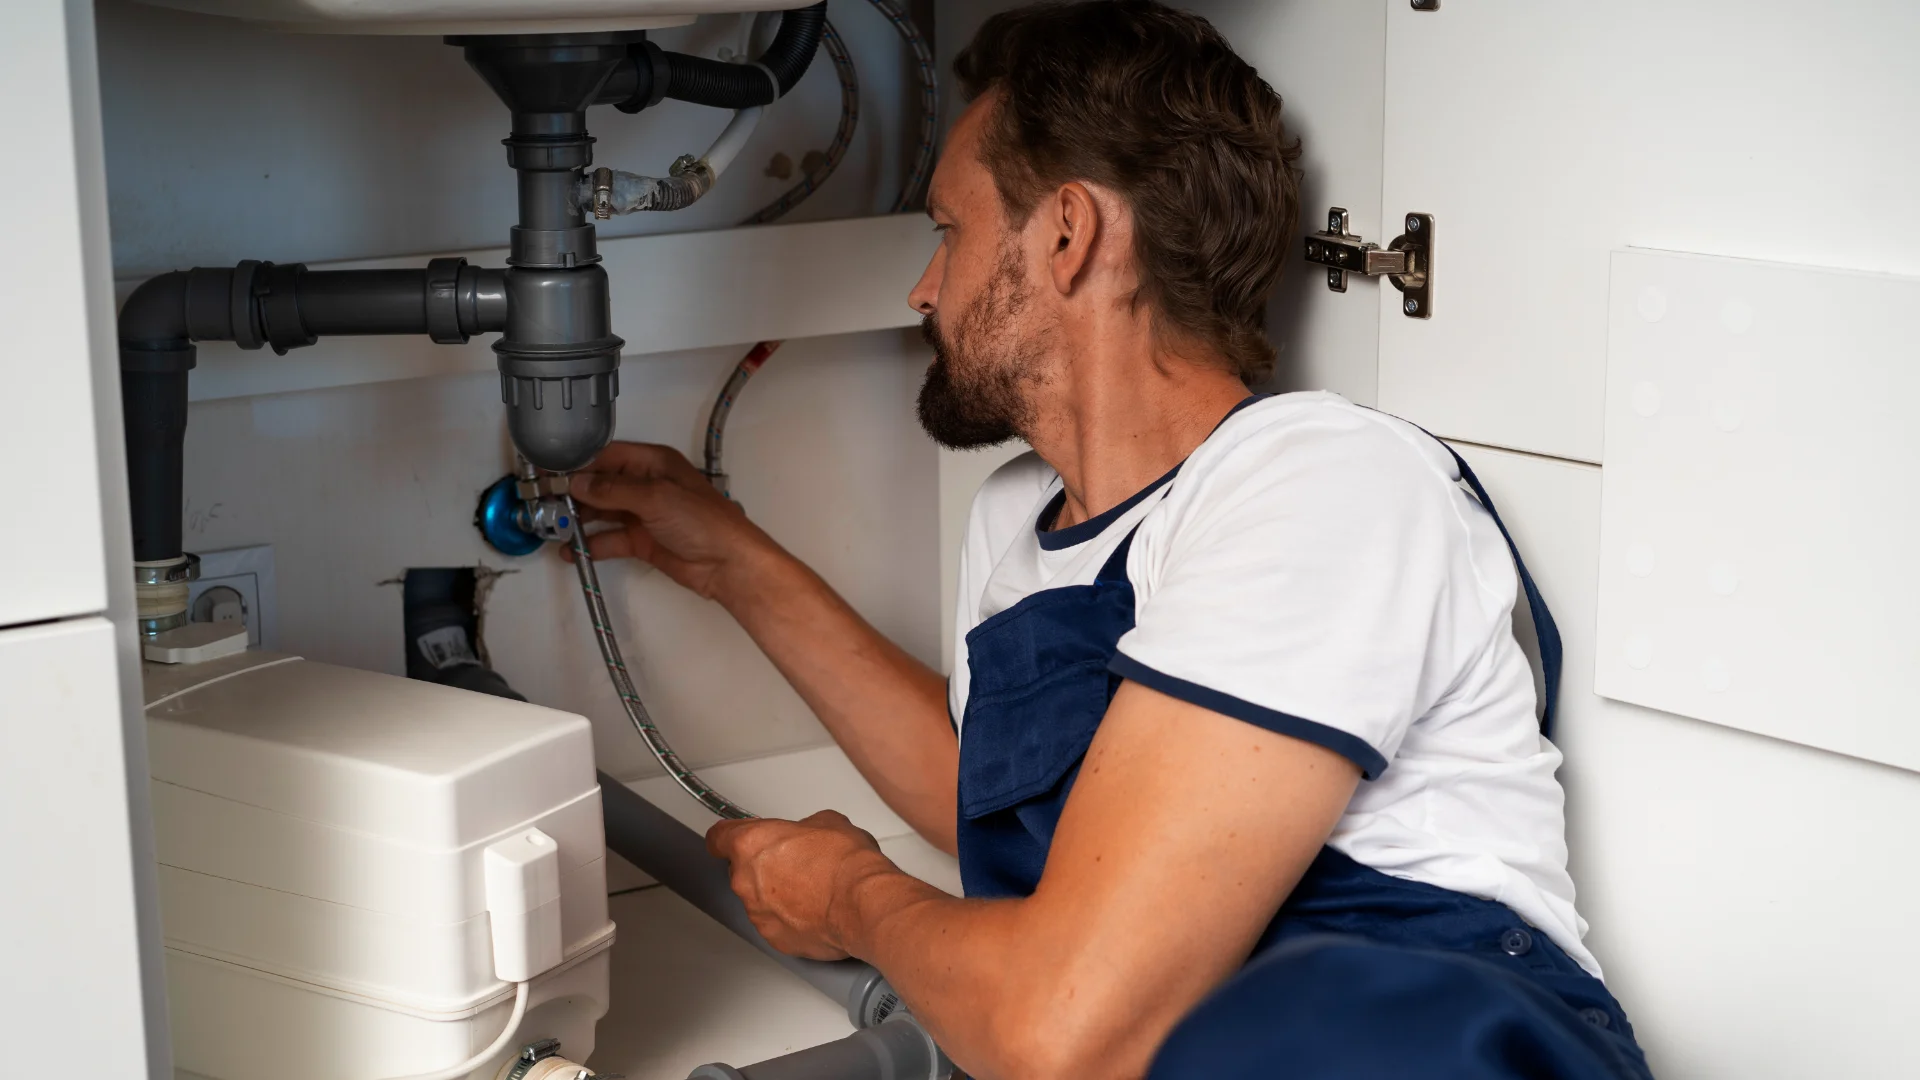
Look under your sink for the shutoff valves. Turn them
clockwise to stop the water flow. Then, open the faucet to release any remaining
water.
Step 2: Plug the Drain
Before taking apart your faucet, plug the drain with a rag
or
sink stopper. This prevents screws or washers from accidentally falling in.
Step 3: Remove the Faucet
Handle
Use a screwdriver to remove the handle. Some models have
decorative caps hiding the screws�just pry them off gently. Keep all parts organized
for
reassembly later.
Step 4: Inspect and Replace
the
Washer or O-Ring
Once you remove the handle and stem, check for damaged
washers
or O-rings:
- •Compression faucets: Replace the rubber washer.
- •Cartridge faucets: Replace the cartridge.
- •Ball faucets: Replace the ball assembly and springs.
Step 5: Clean Internal
Components
Use white vinegar and a cloth to clean any mineral
deposits or
corrosion on the valve seat. This ensures a watertight seal once reassembled.
Step 6: Reassemble and Test
Put everything back in the same order. Turn the water
supply
back on and test for leaks. If the dripping is gone, congratulations�you�ve
successfully
completed your faucet repair.
Conclusion
Learning how to fix a leaky faucet without calling a plumber is one of the easiest
and
most rewarding home improvement skills. With a few tools and a little patience, you
can
save money, conserve water, and avoid the hassle of scheduling repairs.
At homedeecor.com, we encourage homeowners to take small DIY steps like this�it
builds
confidence and helps you maintain your home efficiently.
FAQs
How much water does a leaky faucet
waste
per day?
A slow drip can waste up to 5 gallons of water daily,
depending
on the drip rate. That�s more than 1,800 gallons per year.
Can I fix any type of faucet by
myself?
Most minor leaks can be fixed easily with washers or
cartridges. However, complex faucets or major corrosion may require a plumber.
What if my faucet still leaks after
replacing the washer?
You might need to check the valve seat or O-ring. If both
are
fine, the faucet body could be cracked and may need replacement.
How often should I replace washers
and
O-rings?
Typically, every 2�3 years depending on water quality and
usage.
Is it safe to use plumber�s tape on
faucets?
Yes, plumber�s tape (Teflon tape) can help seal threaded
connections and prevent leaks�especially for older faucets.