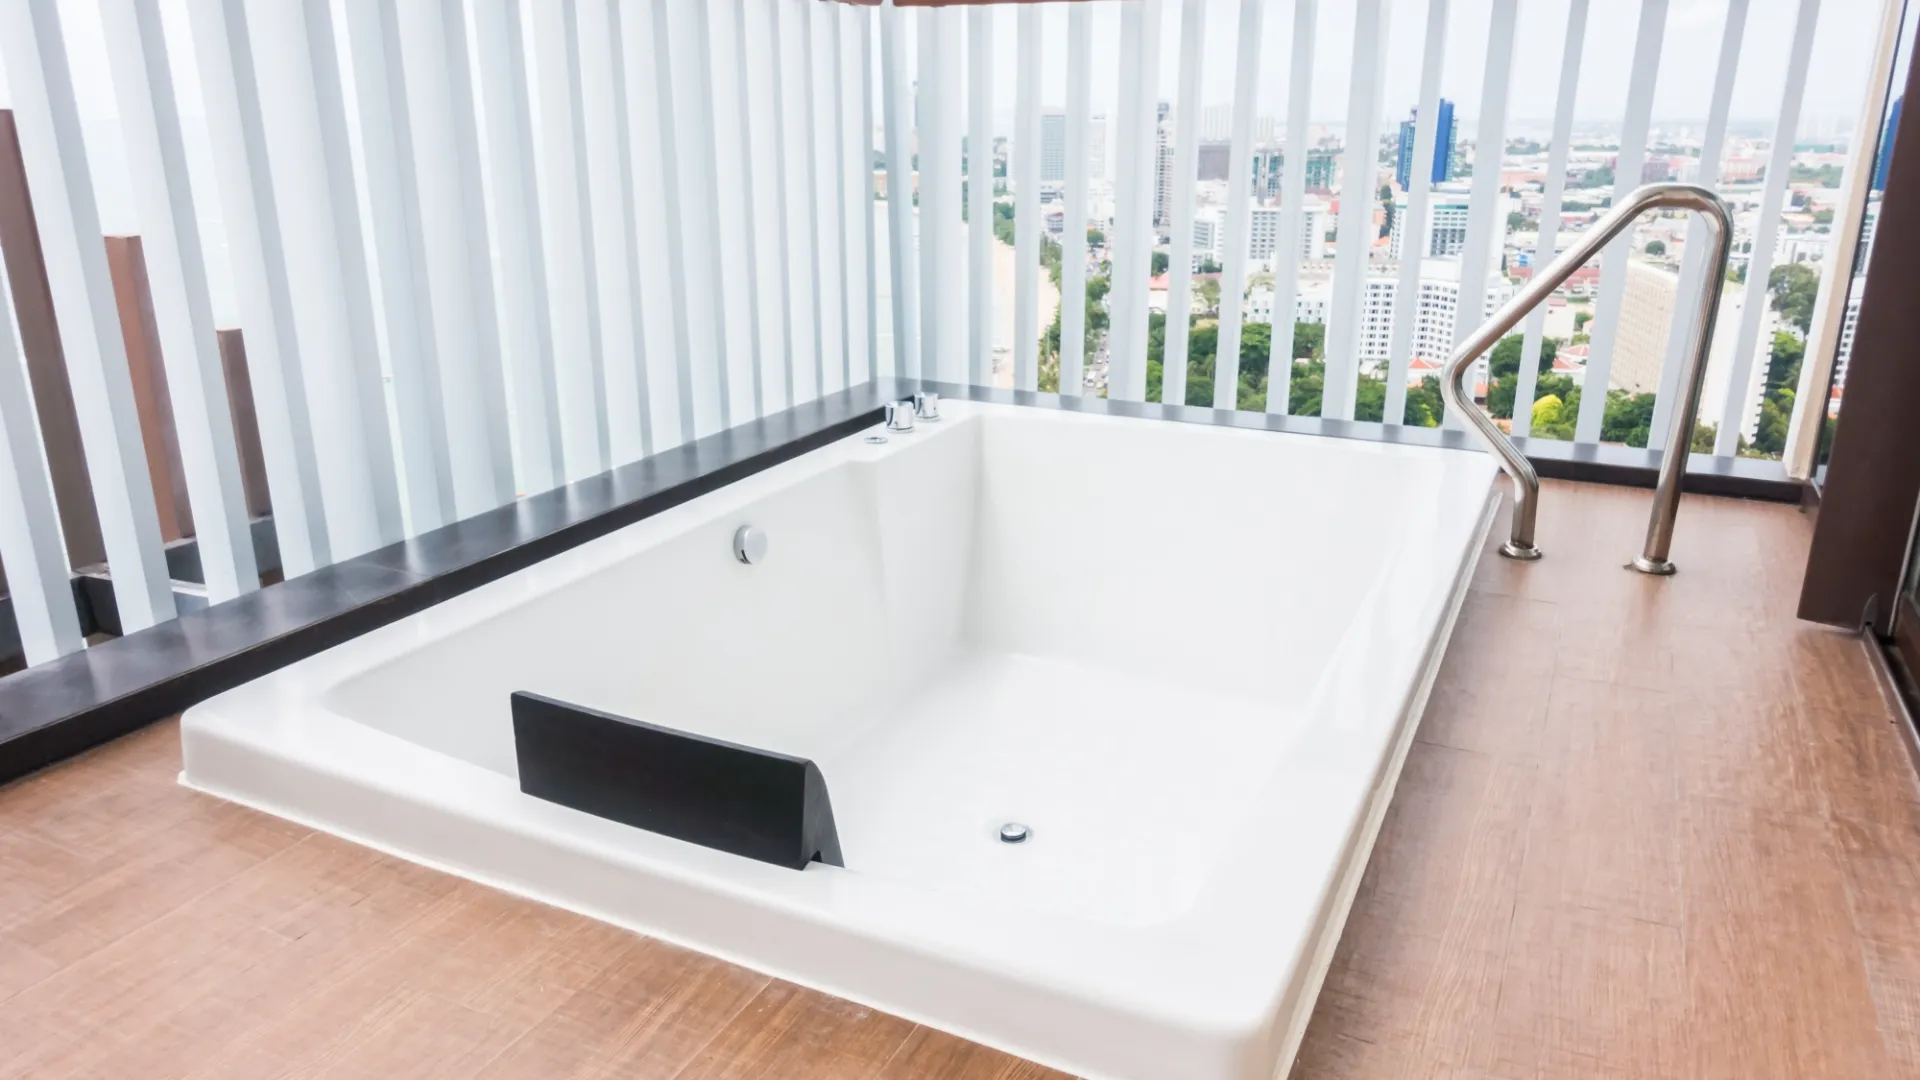
Acrylic bathtubs became the dominant choice in residential construction during the 1980s and 1990s, and for understandable reasons. They’re lightweight, relatively affordable to manufacture and install, and available in a wide range of shapes and sizes. Builders loved the economics. Homeowners accepted the tradeoff.
That tradeoff, however, has become increasingly visible in the decades since. Acrylic tubs that were installed during those boom years are now twenty, thirty, or forty years old — and the surface conditions that develop over that kind of timeframe are hard to ignore. Yellowing, scratches, dull finishes, and stubborn staining are the signature of an aging acrylic tub, and most homeowners assume the only path forward is a costly replacement.
That assumption is wrong in most cases, and acting on it means spending considerably more than necessary. Professional acrylic bathtub refinishing is a well-established alternative that transforms the surface of an existing tub in a single day, at a fraction of replacement cost, with results that are genuinely impressive. Here’s what homeowners planning a bathroom renovation need to understand before making a decision.
Why Acrylic Tubs Age the Way They Do
Acrylic is a thermoplastic material formed into sheets and vacuum-molded into tub shapes. It’s lighter and less expensive than cast iron or enameled steel, and it has a smooth, warm surface that felt like a genuine improvement over older materials when it was first widely adopted. But its surface properties also make it vulnerable to specific failure modes that porcelain enamel doesn’t share.
UV-related yellowing. Acrylic is inherently sensitive to ultraviolet exposure. Bathrooms with natural light — skylights, windows, or bright artificial lighting running for long periods — can cause the acrylic to yellow noticeably over time. This is a chemical change within the material itself, not a surface deposit. It cannot be cleaned or polished away.
Surface oxidation and dulling. The smooth, glossy finish of a new acrylic tub gradually breaks down through oxidation and repeated chemical exposure. Cleaning products, particularly harsh or abrasive ones, accelerate this process. The result is a chalky, matte surface that looks perpetually dirty even when it’s clean.
Scratch accumulation. Acrylic is softer than porcelain enamel and scratches more easily. Years of cleaning with abrasive pads or powders leave a network of fine surface scratches that scatter light and give the tub a dull, worn appearance. Individual scratches may be minor; the cumulative effect is significant.
Hard water staining. As the acrylic surface degrades, it becomes increasingly porous and susceptible to mineral staining from hard water. Calcium, magnesium, and iron deposits etch into the degraded surface and resist even aggressive cleaning. In regions with mineral-rich water — much of Florida included — this is a particularly common complaint.
Crazing. Older acrylic can develop fine networks of surface cracks from repeated thermal expansion and contraction over many heating and cooling cycles. Crazing traps dirt, looks severe, and typically worsens if left unaddressed.
All of these conditions have something important in common: they affect the surface of the acrylic, not its structural integrity. A tub that yellows, dulls, or crazes is not a tub that has failed structurally. It’s a tub whose surface needs professional restoration — and that’s a solvable problem.
What Professional Acrylic Bathtub Refinishing Delivers
Professional acrylic bathtub refinishing is a multi-step surface restoration process that applies a new, durable coating over the prepared acrylic surface. It is not a DIY spray kit from the hardware store — those products use thin, single-component coatings with poor adhesion and limited durability. Professional refinishing uses industrial-grade materials and preparation methods that produce a surface indistinguishable from a new tub.
The process for acrylic requires specific expertise because acrylic behaves differently from porcelain or fiberglass. It’s a plastic substrate that requires compatible chemistry at every stage — from cleaning agents through bonding primer to topcoat selection. A technician experienced with acrylic will approach each step with that in mind.
Chemical cleaning and oxidation removal. The surface is stripped of all soap scum, mineral deposits, oxidation, and product residue using cleaning agents appropriate for acrylic. This step goes well beyond what standard bathroom cleaners achieve.
Surface repair. Scratches, chips, crazing, and surface irregularities are filled and leveled with materials compatible with acrylic. Flexible filler compounds are important here — rigid fillers can crack away over time as the acrylic expands and contracts.
Controlled abrasion. The surface is lightly abraded to create a mechanical bond for the coating system. Acrylic requires careful calibration at this stage — too aggressive and the surface can be damaged; too light and adhesion suffers.
Bonding primer for plastic substrates. A primer specifically formulated for acrylic and thermoplastic materials is applied. Adhesion to plastic is one of the more technically demanding aspects of refinishing, and this primer is what makes the difference between a finish that bonds reliably and one that begins to lift within months.
Professional topcoat application. A two-part urethane topcoat is sprayed in controlled, even layers. The result is smooth, uniformly glossy, and non-porous — easier to clean and more resistant to staining than the degraded original surface.
Cure period. The finish cures for 24 to 48 hours before the tub returns to use. Full hardness develops over several days, during which gentle use is recommended.
The finished tub looks new. The yellowing is gone. The oxidized, chalky surface is replaced with consistent gloss. The scratches and crazing are sealed under the new coating. And the bathroom looks meaningfully more updated as a result — without a single wall being touched.
The Honest Comparison: Refinishing vs. Replacement
For homeowners evaluating their options, the comparison between refinishing and replacement is worth laying out directly across the dimensions that matter most.
Cost. Full acrylic tub replacement — removing the existing fixture, disposing of it, purchasing a new tub, and having it installed and resealed — typically costs between $2,000 and $6,000 or more depending on the tub chosen and local labor rates. Professional refinishing costs a fraction of that figure.
Disruption. Replacing an acrylic tub often means cutting through surrounding tile or drywall to access and extract the existing unit. This generates debris, risks damage to adjacent surfaces, and can uncover hidden problems behind the walls that expand the scope and cost of the project. Refinishing involves none of this. The technician works entirely within the existing tub enclosure.
Timeline. Tub replacement is a multi-day project when installation, sealing, and any necessary tile repair are factored in. Refinishing is a one-day job with a 24 to 48 hour cure period. For a single-bathroom household, that difference in downtime is significant.
Visual result. A professionally refinished acrylic tub, done correctly, is visually indistinguishable from a new installation. The surface is smooth, bright, and consistently glossy. To anyone who didn’t see it before, it looks new — because the surface is.
Replacement holds an advantage only when the tub has genuine structural problems: a crack through the acrylic that allows water to escape, significant delamination from the backing material, or flex that indicates the substrate beneath the tub has deteriorated. For a tub that is cosmetically worn but structurally intact, refinishing wins on every dimension.
Common Mistakes Homeowners Make With Aging Acrylic Tubs
Beyond the replacement-when-refinishing-would-do mistake, there are a few other patterns worth knowing about.
Using abrasive cleaners to address surface degradation. When an acrylic tub starts looking dull or stained, the instinct is to clean harder. Abrasive cleansers and scouring pads do remove surface deposits temporarily, but they also accelerate the degradation of the acrylic surface, making the problem worse over time. Gentle cleaning with mild soap is always the right approach for acrylic.
Attempting DIY refinishing. Consumer-grade tub refinishing kits are widely available and consistently disappointing. The coatings are thin, the adhesion is unreliable, and results typically begin failing within months. Worse, a DIY attempt that goes wrong can make professional refinishing more difficult by leaving residue that has to be stripped before proper preparation can begin.
Waiting too long to address chips. A small chip in an acrylic tub surface is a minor repair when addressed promptly. Left alone, chips allow water to penetrate the acrylic and, over time, can cause delamination of the tub shell from its backing material — a much more serious condition that may eventually make refinishing impractical. Small chips caught early are a simple fix; the same chips ignored for years are a different problem entirely.
Ignoring the tub while renovating everything else. It’s common for homeowners to update tile, fixtures, and vanities while leaving the tub because it seems too daunting to address. The result is a bathroom where everything looks updated except the one element that visually defines the space. Refinishing the tub as part of the renovation — rather than after it — produces a far more complete result.
Caring for a Refinished Acrylic Tub
A professionally refinished acrylic tub with proper care can look excellent for ten years or more. The maintenance requirements are simple and worth establishing as habits immediately after the work is completed.
Gentle cleaning only. Mild liquid soap and a soft cloth or non-abrasive sponge are all that’s needed. Avoid scouring pads, abrasive powders, and products containing bleach or ammonia. These degrade the coating surface over time regardless of the underlying material.
First week care. In the days immediately following refinishing, the coating is still hardening. Use the tub gently and avoid cleaning products entirely for the first week. Marks left during this period before full cure can be difficult to address afterward.
Ventilation. Running the bathroom exhaust fan during and after baths reduces heat and humidity accumulation, which slows coating degradation over time. Good ventilation benefits every surface in the bathroom.
Prompt chip repair. If a chip or scratch develops, contact your contractor about a touch-up as soon as possible. Small repairs are straightforward when addressed early. Ignored chips allow moisture beneath the coating and can expand the damage area significantly.
Sequencing Refinishing Within a Bathroom Renovation
For homeowners undertaking a broader bathroom renovation, where refinishing fits in the sequence matters. The consistent recommendation is to schedule tub refinishing last — after flooring, painting, vanity installation, and fixture work are complete.
A freshly refinished surface is vulnerable during its cure period. Dust from sanding, debris from other work, and accidental contact during construction activity can all damage the new finish before it has fully hardened. Completing other trades first eliminates those risks and means the refinished tub goes into a finished room rather than an active construction zone.
If the renovation involves tile work immediately around the tub — new surround tile, floor tile adjacent to the tub deck — discuss the sequence with your refinishing contractor early. They can advise on protecting the existing tub during tile work or recommend whether the tub should be addressed before or after the surrounding tile is completed, depending on the scope.
Scheduling refinishing last also means the contractor can see the completed room, which helps if there’s any flexibility on finish tone. Matching the tub color to tile and fixtures that are already installed is far easier than trying to coordinate from samples and swatches alone.
The Right Decision for Most Acrylic Tubs
The vast majority of aging acrylic bathtubs in homes today are refinishing candidates, not replacement candidates. The surface conditions that make them look worn — yellowing, oxidation, scratches, staining, crazing — are all surface conditions. The structural shell underneath is intact. The tub holds water. It doesn’t flex or leak. It just looks like it needs to be replaced.
It doesn’t. It needs professional refinishing — a one-day process that delivers a surface indistinguishable from new, at a cost that leaves the renovation budget available for everything else on the list.
Before scheduling a tear-out, get a qualified contractor to assess the tub in person. In most cases, the assessment will confirm what the math already suggests: refinishing is the smarter choice, and the result will prove it.